GardenImages

GardenImages
Our gardens in many lights

jeudi 29 mars 2012

Harvest under the blanket of snow

Cet article en français. 
Este artículo en español.


Irises are starting to peak from under the snow, Freya is disapointed by this weather,
but her playful youth drives her still to go explore outside.

Hélène :
Today in the backyard, the tranquility was only broken by the sound of the snow melting. This noise is remindful of rain, albeit without any sign of it. It's because last week, temperatures hovered around the 20 degrees (celcius) and this week it's around zero. And then it happened : last night a soft snow fell. We always worry for our plants in such times, especially our tulips and our trees - magnolia, lilac, personally my juneberry and my peach tree. But this snow melts fast, something we can attest to on these pictures : as I'm writing, most of it is already gone.

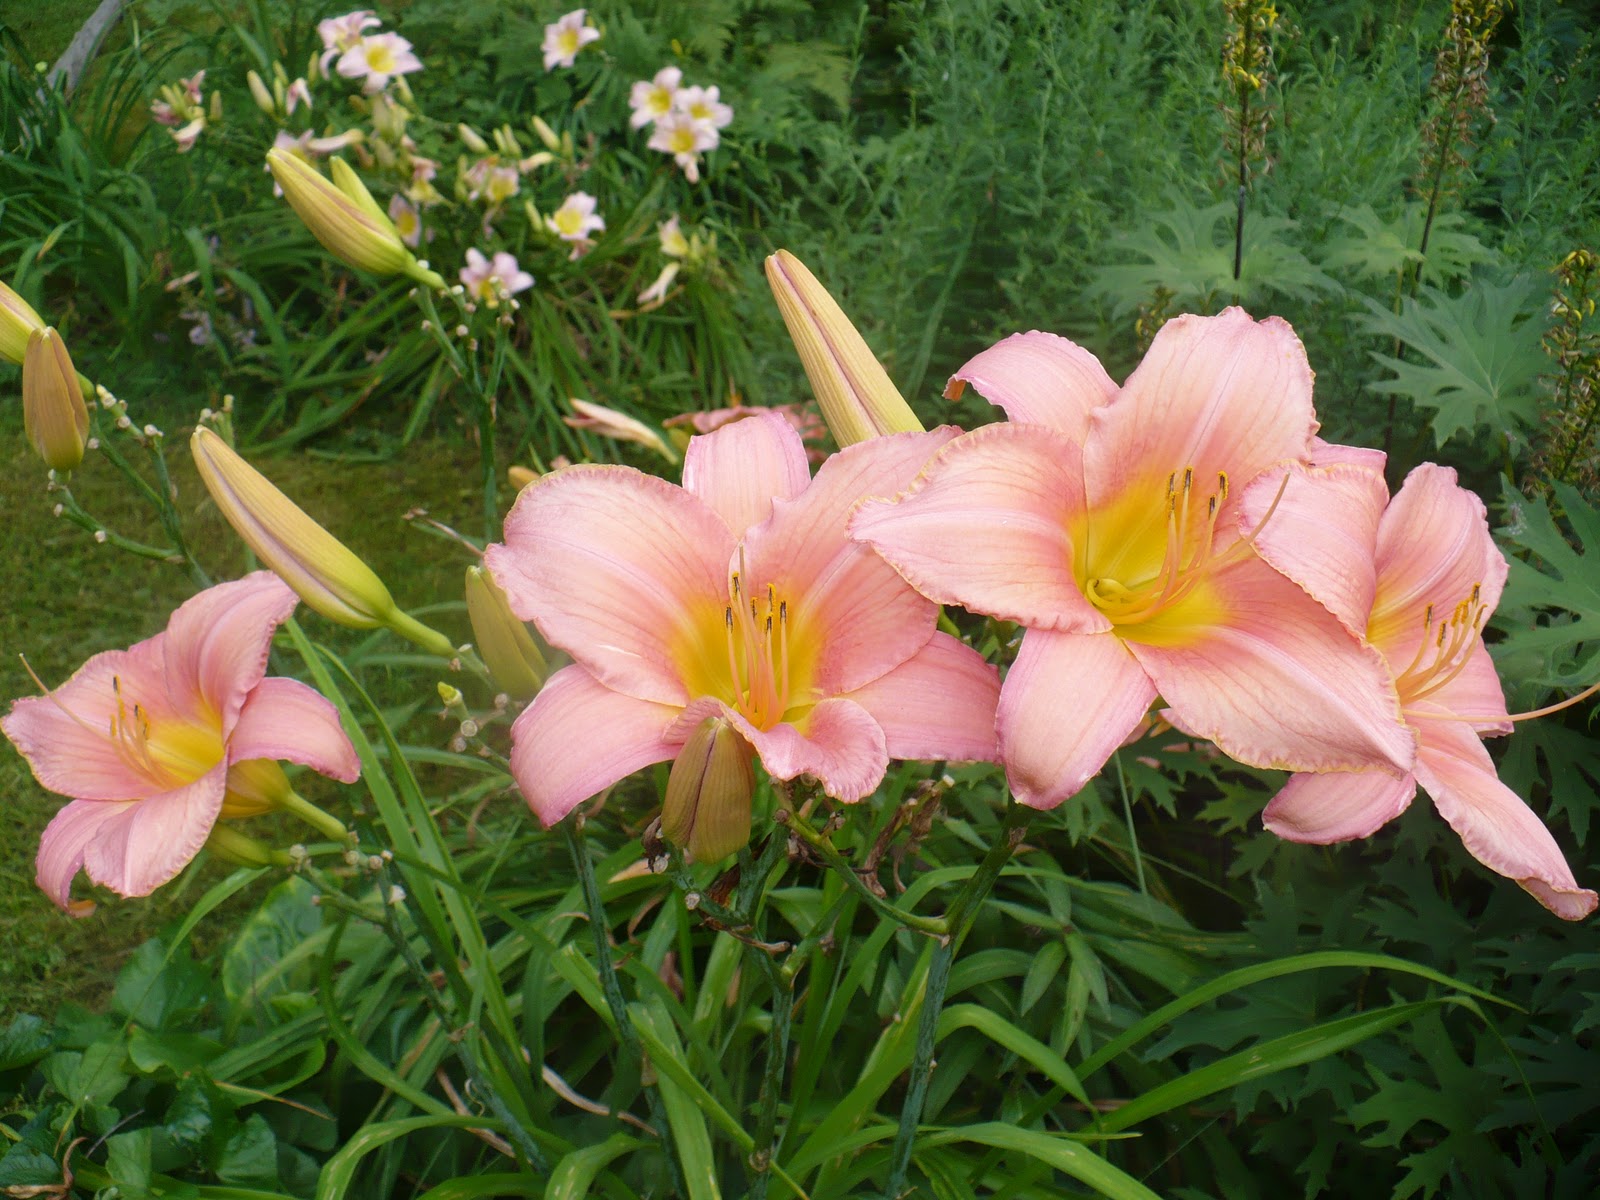
Daylillies are peaking in the front,
you can see two types of chives in the back.
And so the ground, which had plenty of time to thaw last week, is still workable. It's with this in mind that I made my way to the garden, in this peaceful beauty, and that I decided it was time to harvest a special vegetable I had purposefully left out of the harvest last fall, hoping to collect it this spring.

One heave of the shovel and voilà! Plump Jerusalem Artichokes showed! Helianthus Tuberosus, a remarkable plant, one that looks a bit like sunflower, but a whole deal taller, makes amazing edible tubers similar to the potato. It is rich in inulin and offers the benefit of having no starch (for those who can't have starch, take note). It was widely cultivated by amerindian tribes and has been often quoted as a good replacement for the potato. Here's the wikipedia page on the subject.

You can spot the tubers against the base of the wall, this beige mass covered with soil.
The beauty of this operation was that it took me only one plunge of the shovel
to take out the plant (I have a second one) and pull out a bunch sufficient enough
for my solitary lunch and still enough for my family's diner.
What's left after my lunch,
It weights 542g, and will make an exquisite vegetable for tonight!
And remember! Only one plunge of the shovel! I'm also pretty sure more
than half is still left underground.

And regarding what's left in the ground, here's the catch. Jerusalem artichokes are very invasive. So if you attempt to grow some in your garden, make sure to locate them in an area where you can control them.

Louise :
Jerusalem artichoke's tubers are like corn : They taste much better eaten fresh, not long after harvest.

They also have similarities with beans... they give gas. To avoid this with beans, the old trick is to add to the soaking water a bit of baking soda (don't use that water after however). Some persons claim that we can also use baking soda in the cooking water of Jerusalem artichokes, but I didn't try it yet. My trick is simply to eat them as fresh as possible and it doesn't give me any gas. So it's a major advantage to have them in your garden ready for the picking whenever you actually need them! 

Jerusalem artichokes have similarities with rhubarb too : once settled, they will virtually always come back because whenever you forget a tuber in the ground, a new plant will sprout from it (and it's not quite that easy to catch them all). I didn't choose a space yet where I want them "there forever", so I settled on making them grow in containers. It's a method that works perfectly well apparently, but one has to be careful to choose a very cheap plastic container, since the tubers have been known to deform them badly as they multiply and take up all the space inside. 

I planted 4 tubers inside in a big pot that previously contained a perrenial bought at a nursery. The plants will grow outside all summer and I'll be able to harvest the tubers in late fall. 


Jerusalem artichoke in all its glory, last fall


Hélène :
I would have liked to harvest my tubers last fall but spring offers so little in term of food that I resigned myself to try a spring harvest instead and that's how I came around to do my first harvest under the snow.

lundi 12 mars 2012

Seedlings are off to a good start!

Cet article en français. 
Este artículo en español.

This year, the garden planning was (litterally) a game. You can see here the garden map, desired vegetables cards and mini-cards for desired flowers, flowers that will be used for companion planting.

Hélène :
Have you started you garden planification yet? Here plans, seed orders and seedlings have been started a while already! Of course, buying seeds instead of buying plants cost less, but the time and expertise required for success is not negligeable and it's definitely a sign of trouble for most (me included). I did talk about this, I once tried to sow seeds in a big container with usual potting mix from the store and it just didn't work. Last year, I finally equipped myself seriously with a heating mat and a small light setup (not this exact model, but the last year's equivalent). Results for last year : a couple of difficulties but for the first time, I tasted tomatoes and peppers that were very different, vegetables I couldn't have tasted any other way.


Light setup and a heating mat underneat. Notice
the aluminium hanging for maximum light reflection.
Also notice the setup is on top of a shelf,
a place cats can hardly reach.


This year, the game started with even more varieties of tomatoes and peppers. And I have to admit my experience of last year is already showing. It's easier, losses are reduced and the plants are vigorous! There is a couple of fine points I would have like to have known at the offset, points I would like to share (this list will most likely grow with the years to come, too).

1. It is hard to give too much light. And if you go for natural light, if you are like me in the north, this is not Californian sunshine, northern sun is not as hot. All in all, maximizing the light you give to the plants is a good investment, so be ingenious about it : use mirrors or aluminium to reflect the light as much as possible. Most light setups come with height-adjustable light. When the seedlings poke out of the soil, don't be afraid to bring the light really close, a couple of centimeters over the top is fine. It's even actually better then fine, because else, you will get spindly plants, you know those long plants that hardly hold up?

2. Heat makes a big difference! This way, the seeds will germinate instead of rotting, so place a heating mat underneat the greenhouse and even under the containers holding the small seedlings. This can make a world of difference between a living plant and a dead plant.


In the small plastic greenhouse, down left,
new seeds are ready to sprout.
 The plants around are 3 weeks old.

 3. As long as those seeds haven't sprout, keep them in a greenhouse like the one on the left picture or place a plastic bag on top of the container that will keep the humidity inside. Don't buy a greenhouse that's too big : Take the size you need. Last year I bought a 50-cells greenhouse, thinking I could use only a part of it. What a mistake! All plants that were adjacent to free cells never sprouted for lack of heat and humidity. If they had been surrounded by other growing plugs, it would have been fine.


Here's a small plant ready to move up in a
potting mix, vermicompost and perlite.


4. Normal potting mix works fine of course, but there is a couple of details that need mention. First of all, it contains very little nutrients and since it's sterile, it can't make more. Some people add a handful of garden soil so bacteria is introduced, making this new soil richer. Others add compost, which slowly release its nutrients, an ideal solution... when your compost bin is not under 4 feet of snow! There's also vermicompost (worm compost) - something I will try this year - but it needs to be well mixed with the potting soil and it shouldn't be on the top since it has a tendency of caking, making watering challenging. I also add perlite. It's  very fine volcanic rock, it's white (it's in the glass in the picture above) and it helps to retain water, making plants less likely to dry out. Watch out however, because perlite is so fine, it should be dampen before working with, since it produces a dust that can be irritating to the lungs if inhaled.

These roots clearly state it's time to place them in containers.

5. Don't wait too long before repotting, especially if you used plugs! A baby plant that's in a container really too big for it will possibly have a hard time, but a plant that's too big for its container is a dead sentence.
I hope these tips and tricks will inspire you, give you courage to try and succeed with seeds! Of course you will loose some plants, but don't despair. Plants have a will to live too and will be forgiving to beginners.


When you order seeds, the choice will be immense and varied,
 the selection definitely exceeds what a nursery can offer as plants.

Louise : 
If you don't have a heating mat, place your seedlings higher (closer to the ceiling, the air is usually warmer). Another old trick is to put your tray over the fridge (at least all night long).

Don't forget to acclimate your plants before bringing them fully outside. Choose a mild day, preferably overcast and without winds (or place the plants in a shady spot that also offers wind protection), take them out for short spells, 30 minutes a morning, 45 or 60 the afternoon and so on. The idea is to limit shock when the plants will be outside. Think about it : A transplanted plant already is having a shock. Change the light input, the temperature and the wind at the same time and you can kill it quite easily, or at least damage it enough to stunt its growth.

Have a delightful gardening season!

lundi 27 février 2012

For winter, why not invite vegetables inside?

Cet article en français. 
Este artículo en español.


Louise :
Watercress.
Charming, isn't it?
Tomatoes, potatoes, swedish turnip, garlic, lettuces or peppers, these are not plants that we imagine inside our homes. But why not? 
What do they have that's so different from our ornemental plants that beautify our living quarters? After all, these are plants, and some are very pretty. 

Actually, the big difference is that for a plant to be able to produce fruits or replace munched leaves, it requires more energy then when it just has to stay there and "be pretty". This producing plant will need more of everything (fertilizer, light and sometimes even warmth). 

A bunch of cherry tomatoes leaning lazily against the next planting pot.

But it's definitely possible to cultivate edible plants inside, with a little bit more care then what ornemental plants require. That's what I discovered in the winter 2010-2011. For those of you who are lucky enough to have a very sunny spot, it's even possible to use only natural light. When it comes to growing vegetables inside, I myself use two different techniques  that I will present here. 

A suspended garden

The first source of inspiration that allowed me to consider seriously the possibility of having a winter edible garden inside is the discovery, in january 2011, of the website Windowfarms, a site that proposes nothing less then to create a vertical hydroponic garden, simply hung in a window, at a very affordable price.

Image result for windowfarms images

Picture published with the permission of Windowfarms.
This one is their manufactured model.
Water bottles or soft drinks bottles are recycled,
small basket filed with clay pebbles are the nest for plants,
a bit of silicone tubing, metal wire and hooks for hanging the structure, 
a timer and a small air pump (the same we use in aquariums) allow for the circulation of water,
artificial lighting (depending on the vegetables you want to grow and your situation) and a  sunny window.
There! You are now a " window farmer" !


For the big picture, hydroponic culture consist of growing plants without soil; we replace the soil with an inert substrate. This substrate offers a physical support for the plant; I use clay pebbles. The irrigation of those plants is done with pH balanced, fertilized water (naturally or chemically, up to you). Finally we have to provide enough light to allow plants to grow. Here's what Wikipédia, amongst many, have to say about hydroponics. 


My personnal experience 

The growth of my plants
has been fast from the beginning.
We were in February.
I built my first Windowfarm in January 2011. It was really simple, though not very pretty, because I was too anxious to try out this type of gardening to loose my time on such things as aesthetic frivolities (I can also be very lazy on occasion).

On this picture you can spot my young and tender vegetables, about a month pass germinating stage.  On the lowest level, I transplanted two climbing pole bean (they became monstrous). 

On the middle level, two nasturtium plants are nestled comfortably.

Finally on the third level, two cherry tomato plants found their home ("Christmas grape" and "Yellow Pear Shaped ").

Except for the nasturtiums, all of these plants were taking so much space that after a couple months of growth, a single more plant would not have survived in this window!


And then, it became serious 

One year after construction, my vertical garden produces vegetables that
are entirely organic, vegetables we can eat fresh while watching the
snowflakes fall just outside this very same window. And this without any artificial light. 

During that winter, I read almost every archived article on windowfarms.org 
(it's a lot of material to read). When I became more self-assured, I started to work on a more ambitious project. 


My windowfarm, built at the end of the 2010-11 winter.
Made of porcelain pots.
On this picture, it was just starting in function,
being only a couple of weeks old.
My goal was to create a windowfarm without plastic, a pretty one and one that wasn't relient on electricity to pump its water.

Taking inspiration in all I read, I decided to use glazed porcelain planters, made of the same material as an ordinary coffee mug.

I am very satisfied with the result, even with some corrections still needed on the overall conception and functioning of the system.

My three main goals have been achieved: my irrigation system is made of durable materials; it works without electricity (by gravity only) and barely contains any plastics. (This fall I replaced my plastic reservoirs with nice buckets made of galvanized steel covered in a baked paint.) Furthermore, this construction is really pretty (at least it is to my personal artistic sense).

Finally, it can acommodate a lot more plants than my plastic test model, since it contains 22 planters. But of course, these plants must be small enough to live together, so I made the wise choice of choosing dwarf varieties. It's one thing to plant parsley and lettuce close together, an entirely different one to plant a pumpkin plant in such a facility !

But the possibilities are still surprising. For example, there's no way I can install a zucchini plant in there, but I found a dwarf variety of cucumber called "Space Master", recommended for... small spaces (the vine still grows to a healthy 1 to 1,5 meters long). My plant took all the space on the bottom of the window and only gave me... one cucumber before meeting its death, most probably caused by my inexperience.


What about traditionnal culture in soil?


This swedish turnip was already growing in a container outside
with two kales. I brought it inside so it could fatten a bit more.
It ended in a soup, leaves included.


I owe this to Ray Browning, an experimented gardener from the North of the United States : He convinced me that it was possible to grow either kale or pepper inside the house. Here's where you can find him on YouTube (Dance in the Sunshine channel, Praxxus 55712). It truly worths a detour, because Ray's way of gardening is unusual but still so well-rounded, either for inside or outside gardening. 


This used light garden cost me 175$ with the
fluorescents and the plastic trays.
At 40W per tube, it cost me about 28 cents
of electricity per day for 16 hours of light.
This installation gives me
 24 square foot of gardening surface.


Not too long after, Marie-Claire found this treasure for me : a light garden for indoor growing. New, these babies cost a lot but this one is used and comes from a lady from Montreal who grew african violets to sell them.
So, last fall was just a new adventure in ways of gardening for me! I started by installing my shortest vegetables on the bottom of the rack. 

Thyme and strawberries (they both eventually died), mint still going strong, kale, a couple of young eggplant and peppers (they are having trouble), onions, garlic, calendula and rosemary (that are all ok), oregano, tomatoes and swedish turnips grow well. A couple of ornementals and I just finished sowing strawberry spinaches. 

Bringing plants from outside inside, however, brought insects, most of them I managed to eradicate. Some aphids still roam around,  damaging my calendulas, but that is all.

I could have spared myself all this trouble if I had used new, sterilized soil and made new plantings inside.

Later on, I installed two more fluorescents on a home-made structure, each light being hung perpendicular to the roof window I have in the attic, a window that's oriented West. Enlarging this space like this allows me even more plants coming from outside. 

From this portion of my indoors garden, we occasionnaly eat eggplants, peppers, sorrel, kale leaves, cauliflower, broccoli and pelargonium leaves (yes, it's edible!). 
I also have from there one or two young tomato plants that are just starting to grow and potatoes that have begun making stalks and leaves. Another tomato plant started from the smallest cutting, started producing flowers. Add to that a few tubers of jerusalem artickokes freshly planted in a big container (with the intention of simply putting the container outside this spring, since it is such an invading plant and it's almost impossible to get rid of once it's there).

A couple more ornementals have found a place in this spot, an heliothrope plant amongst them, which exhales an exquisite vanilla perfume every evening.


My garden under the roof window in the attic, viewed from the side.
My two fluorescent fixtures cost me 35$ each and I used wood scraps
to make the holding structure. I also recycled old mirrors
to multiply the light, but aluminium paper would have worked too.
I also bought two small fluorescent fixtures for 5$. I plan to fix them on the wood
beams to give a better lighting source to those plants that aren't as close to the window as it should.


Front view of the garden. Notice the small orange peppers 
hanging from the green plant on the right.  The two big plants on the left are eggplants.


My plants in the attic are less vigorous than the ones in the hydroponic system, but these ones had to spend some energy to acclimate plus the insects that came with them did some damage. 


A tiny pepper... but so fresh, so delicious!


An eggplant, ready for harvest. 
Its tiny sibbling, left, needs a little more time to ripen.
Bringing these eggplants inside to save them from the frost
rewarded my with a dozen of fruits.


In conclusion

Winter gardening inside doesn't beat outside gardening in the summer of course, but still, I find that between germinations from the kitchen and the summer vegetables that I either froze, dried or prepared one way or another, being able to put fresh produce on my table, even if only ponctually, blesses me with infinite gustative satisfaction. Even more, I can still garden in winter!

I won't even try to deny this : the simple fact that these produce come from my home and were nurtured by me modifies my perceptions about their taste and makes them oh! so much better!

Bounty right in the middle of January.
The eggs comes from a collegue raising hens.
I receive a dozen once in a while in exchange for perennials divisions 
that I gave her last spring.
My fresh, homegrown vegetables, from left to right :
watercress, garlic stems, rosemary, mint, sorrel and kale;
dried thyme at the bottom; swedish turnip leaves in the white plate;
 and in the transparent plate, tiny "Doe Hill" peppers, 
"Red Robin" cherry tomatoes and "Slim Jim" eggplant. 


I baked this beautiful omelet with the ingredients from the photo above this one, 
adding some ham from half a pork I bought from a local producer, 
olive oil, salt and pepper. The zucchini and potatoes do come from the grocery store,
but my fruit ketchup is made mostly of ingredients I have grown and harvested
last summer.


Check my next article on windowfarming to learn more about it!

mercredi 14 décembre 2011

The art of germinations

Cet article en français. 
Este artículo en español.


Step 1, lentil seeds soaking in water.
Hélène :That's it, we can't kid ourselves anymore, the gardening season is definitely over. The first snow fell some days ago (probably more if you are farther north), there's not a leaf left in the trees and most neighbors have put out their Christmas decorations. So what to do if you are already longing for Spring? What can we taste that will feel fresh and remind us of the plentiful season?


After a day, we can already see the sprouts!

How about germinations ! This way of eating greens is excellent for the health and is wonderfully tasty. And it's simple. Really simple. If you go in a natural food store, you can find there all sorts of seeds packaged for the express use of germinating them, but sometimes the price tags on these is high (for example, I bought a 250g bag of fenugreek seeds priced at 6.49$). This may seem excessive, but with this bag you'll make a long way. Nevertheless, there is a way to get a better price elsewhere. You can save by buying dried seeds in bulk at your grocery store. We can easily find beans, peas and other types of seeds in plastic bags and all of these, well, they can germinate, as long as they are whole and raw (not crushed, roasted, bleached or whatever processing technique they can do on the poor things to make them suffer). For instance split peas will not germinate, simply because they don't have the germ anymore, the part that makes a plant out of it. The picture on the right features plain green lentils! They make amazing germinations.

I'll give you the "Mason Jar" technique for germinations, which is possibly the simplest one. Or you can also buy a seed tray made expressly to germinate seeds. But it's really not necessary to dedicate space in your kitchen for yet another gadget when an ordinary glass jar works so well.


Step 1, Mung beans germinations
So here's the technique me and Louise are using.

Step 1 is so simple, as shown in the first and third pictures of this post. Put a small quantity of seeds (one or two tablespoons will give you enough germinations to spice up a couple of salads). Rinse them once with water and then fill the jar to cover the seeds with cold or lukewarm water. Let the seeds soak like this 2 to 6 hours or more. I generally let them soak an entire night and the bigger the seeds, the more diligent I am on this point. The water really has to permeate the seeds to make them germinate.


Step 2, take the water out, rinse once more and cover the top of the jar with a thin piece of light textile, kept in place with a rubber band. Keep in mind that the bigger seeds are easier to rinse. With smaller seeds like alfalfa, you have to either use patience or ingenuity. Some people make fitting screens for their Mason jars. (However, just don't ever use aluminum doors and windows screening material; this aluminum is poisonous and it will leave traces on your germinations.) My own trick is to simply use an old nylon sock (after washing it thoroughly). You can rinse through it like a charm! 


Steps 2 and 3
To cover up your jar, you could also use one of those old coton covers used on jam jars to make them prettier. With smaller seeds, like alfalfa, Louise likes to use a small kitchen sieve.

Step 3 : put the jar in a bowl, head down. This way, any excess water will seep out. Rinse the seeds twice a day. It's very important especially in hot weather, else rot might start. After 2 to 4 days (some seeds take longer) you will have germinations for your salads, pastas, sandwiches and more! The ambiant temperature also plays a role : The warmer it is, the faster the germinations will sprout. They are ready when they reach about one or two inches long.

Hélène's favorites : I use my germinations mostly on pasta and in salads. I am far from having tried them all of course, but right now my favorites are Mung beans. Followed closely by corn. Alfalfa is pretty nice too and lentils are fabulous! Next thing I'm trying : chick peas! However, I am not fond of fenugreek and I hate red cress! There's also little to do for some seeds that keep a layer of saponin, like flax seeds (I even persisted on their case an entire week - nothing was growing); they became sticky, smelled bad and their germination rate was close to nothing. 

Louise's favorites : In my home, classics are the most appreciated. Alfalfa is the real winner, but we also appreciate clover very much. Daikon Radish has an interesting hot taste. Anyway, there's so much more to try out there! The time required to make germinations at home is ridiculously short and what I especially appreciate of this technique is that I'm growing a vegetable right on my kitchen countertop !

Here's one for the camping lovers : Put seeds in a nylon sock and that sock in a ziploc full of water. Strap this securely on your backpack. 6 hours later, take the ziploc and water out and keep the sock with the seeds strapped on your backpack. Rinse it twice a day and after 2 to 4 days, surprise! A fresh meal as sprouted. This idea comes from this book.

One last trick. If your green thumb isn't fulfilled with all this, keep a couple of germinated seeds aside and make plants for the winter. Lentils make an absolutely adorable little plant! This last idea (tested by yours truly) came from this book.
Update : Well, chick peas germinations didn't work for me. The time it took for these peas to grow to a decent size, a quarter of them become slimy and smelly and were mostly just rotting away! Maybe they needed to be rinse more frequently to prevent mold? Anyway, it then occured to me they could be used another way... to make another beautiful house plant!
Chick pea plants looks like lentil plants, but are straighter
and bushier.

lundi 5 décembre 2011

Successes and failures, part 2

Cet article en français. 
Este artículo en español.
Ode to variety : zinnias and daylillies flowers,
 cherry tomatoes, groundcherries,
shallots, beans and strawberry spinachs
(these funny-looking small red fruits). 

Louise :
My turn to talk about what happened in the garden this season, a season that's been really bountiful, as you'll see. But I'll start with the failures. You see, first of all, I want to highlight a simple truth : in gardening, nothing is garantied. I must also confess another motivation : I want to get rid of the bad things first! (Note : This exemplary discipline comes from my family who, with no originality whatsoever, thought me to eat the main course before dessert.)

So, here we are... This failure list, I can sum it up like this :  the root vegetables (carrots, turnips, radishes and onions) and the brassicas (cabbage, cauliflower, brocoli).
Root vegetables that stayed obstinately slim :

Anorexic radishes
sporting malformed roots
I don't know if my radishes, turnips, carrots and onions teamed together against me, but this had all the air of mutiny : everyone made lots of leaves, but the root stayed thread-like. Weird, since I sowed them all in different corners of the garden, corners that had different conditions, and I haven't been sparse on the amount of seeds scattered. So this comes as a surprise. I did manage to harvest 2 or 3 dozens of minuscule carrots, about 6 radishes, not one turnip that was worth it, and only about thirty or so shallots. Only my sweedish turnips, planted in containers in small quantities gave a reward of any kind.

On the squash side: I only harvested one Butternut and one Buttercup. Not one zucchini! I wanted to try to dry slices of this vegetable, but alas!

Cabbages became the salad bar of the insects :
I know here why I haven't been successful. I didn't protect any plant with a veil on it. Everything was well until mid-July, at the time I went on vacation. Maybe the insects were poised for my departure, because when I got back I found out some of my plants were eaten up to the trunk. My fault entirely, since a friend told me to protect the plants with a piece of netting, a caution I did not give heed to. Well, I came (back from vacation), I saw (the disaster) and they (the insects) vanquished. Julius Caesar would have been ashamed of me.

For the rest, there were half-successes : for example,  I got about 20 cucumbers, half a dozen or so peppers and bell peppers and some eggplants. And there were great harvests : for instance, a nice variety of culinary herbs including a couple of new things for me.


Some samples of abundance : groundcherries, green tomatoes and a still-warm apple pie.


And now, let's talk about the fun stuff... Tada! The real successes of the season by importance.


A lone stalk of tomatoes "Millefleur" variety, harvested a the end of the season, still green,
before a night's frost.
This stalk alone gave me 1 liter of fruits!


- Number 1: tomatoes ! Not really original surely, but how delicious! I got 6 plants in containers and 6 others directly in the ground. For these ones, I used a plantation method that allow them to crawl on the ground, shoot more roots and multiply their heads (in short, I don't stake the plants et I don't remove any sucker. I had almost exclusively only cherry tomatoes, a yellow-pear variety and red "Christmas Grapes" variety. There was also 4 plants of tomatoes "Millefleurs" variety (L. Esculentum, a different species of tomatoes, from Solana Seeds), that can easily reach 6 feets high and makes gigantic clusters that can each produce 150 cherry size tomatoes. I could have left them crawling on the ground like the others, but this being my first year with them, I wanted to familiarize myself with their temperament first.

Why no normal-sized tomatoes? My strategy follows this line of thought : Since I knew I would be beyond busy at work from the end of August till the end of November, I reasoned that cherry tomatoes would take me less time to prepare for conservation. At this size, all I had to do was make sure they were clean, and put thewhole  in a freezer bag ! No muss, no fuss. Perfect for me.

I harvested1258 ripe tomatoes (I'm also enough of a maniac to count them) including about a dozen normal-sized tomatoes, from a plant given to me by a friend. We ate them, gave them, preserved them and made red fruit ketchup with them.
And then, there was also the green tomatoes : 1570 !

It was out of the question to waste them ! It took more work to prepare them, however, since I had to slice them in 2 or 4 for the recipes I was planning. I did freeze some for later use, but mainly, I made a lot of green ketchup... And I made astoundingly delicious green tomatoe cakes.


- Number 2 : Fruits ! Here they are approximately in the order they graced our table.

- Rhubarb : About 5 liters, in pies and jam. Here's a picture of a flowering plant.
I do let them flower since it's quite pretty.


- Strawberries : 6 liters, all eaten raw.
I bought strawberries from a local producer
in order to make jam.
- Juneberries : 750mL -
My first harvest of this delicious little fruit.


- Blueberries : 7 liters, most of them eaten raw.

In addition to being quite productive, my grouncherry plants make a wonderful thicket of pretty green leaves.
 - Grouncherries : 11,5 liters of fruits, almost all eaten raw (I put one jar in the freezer). In addition, I still have about 2 to 3 liters of still-green fruits. Some will ripen, others won't and will end up in the compost heap since green grouncherries are toxic (like green potatoes, a cousin).

Tiny watermelons Sugar Baby (from Solana Seeds). You can spot one here. I got 3 in all. 

- Gooseberries : the harvest promised much but a heat wave unfortunately dried all the berries, still green.

- Black raspberries (true!). This picture shows the flowers. They also succumbed to the heat wave like the gooseberries, when I was in vacation.


- Spinach strawberries (or Strawberry Blite, Strawberry Goosefoot, Indian Paint, depending on the source, Chenopodium Capitatum).
With 6 plants taking very little space and reaching only 30cm up,
I got about 15 stalks full of these berries as big as peas and tasting slightly like beets.
They do bring great color to a salad. And the leaves are edible too, if you care to harvest them.
You can eat them raw or steam them.
    I also made a lot of wild foraging (pears, apples, grappe, cherries, etc.) as previously discussed in this article.

- In third position : beans, lettuce and mushrooms! All in all, 12 plants of climbing beans (9 of them being grown in containers) yielded 598 really long pods, green (Blue Lake) or violet (Purple Peacock - both bought at Solana Seeds again). We ate most of them as soon as they were ripe, either raw or steamed.I froze a tiny bit of this harvest, and I also got 200g of dried beans from pods I left alone to mature and dry on the plant..


  And the lettuces, 8 heads of Romaine, allowed us to have salad on our table from the 1st of July throughout August. then, at the end of September, I brough back inside seedling and put them under fluorescents, so they gave us a couple of salads a week for almost a month.

It's on the front deck that the lettuce plants faired
the best.


We have enough frozen mushrooms to last us until February if not later. Here's the article on the subject. 


My surprises and tryouts for 2011 

At my home throughout the years, I planted 150 different cultivars of
daylilies. In all those years, I never suspected it could be
a substancial food source early in Spring!

My first taste of tender daylily leaves was in last April. I also tried Violas leaves at that time. I never thought these were edible and thus was marveled to discover these delicious Spring greens! 

And there's the added bonus that they grow aplenty here. In the middle of summer, I also realized I could eat the daylily seeds and buttons.

I tried burdock (bardana) root, but I found its harvest and preparation tedious for the reward. Same for dandelion root, but since we only use a small quantity of the dried root for a cleansing spring herbal tea, taking time for it didn't bother me that much.
I've grown for the firts time quinoa in very small quantities, so this only gave me a tiny amount of seeds. But... it made me aware of what these seeds require in harvesting time, curing and preparation. Since then, I also realized I could have eaten the leaves of the plant (like mustard, by the way). Quinoa also requires to be soaked before cooking to get rid of the saponin with which they are naturally coated. I readily realized that I could then use this water, full of the chemical coumpound, in my home-made insecticide recipe.This is the first cereal I dare grow and since quinoa as a good yield when one knows its intricacies (not yet my case, but I'm learning), this becomes a very interesting cereal for city gardening (in numbers we speak of a kilo of seeds per plant, each plant taking only square 30cm of space - a square foot).
I've also discovered lovage, a tall perennial that can replace celery leaves in culinary use, and horseradish, another perennial that can offer its leaves for our plates - in addition to the root.

Another pleasant discovery (and source of relief) was the fact that we can cook the leaves of turnips, radishes and rutabagas (swede turnips). It's a good thing since my turnips and radishes pretty much only produce that : Leaves! So this was a kind of way for me to "save" these harvests from complete disaster! 

For the first time in my life, I planted potatoes. These have grown on a
small elevation called "Hugelkultur". Check the net if you are too curious
to learn more about it before I write  an article on the subject.

That's it! Another year full to the rim of beautiful experiences! My garden is 26 years old, but the vegetable patch hasn't been worked for a full 15 years before I started it again this year (excluding a couple of berry varieties). This year, at last, I'm back to fill our plates... and with a vengeance.

All in all, my biggest surprise was to find out I can grow an astounding quantity of food providing a lot of care and effort, but in very little space. My husband as been even more surprised then me and since he does have a hearthy appetite, I'm pretty sure he won't object to an increasing surface of the garden being dedicated to grow edible plants!