GardenImages

GardenImages
Our gardens in many lights

samedi 5 mai 2012

Beauty and Weirdness in Springtime

Cet article en français.
Este artículo en español.

Louise :
My turn to show you a couple snapshots of my garden!

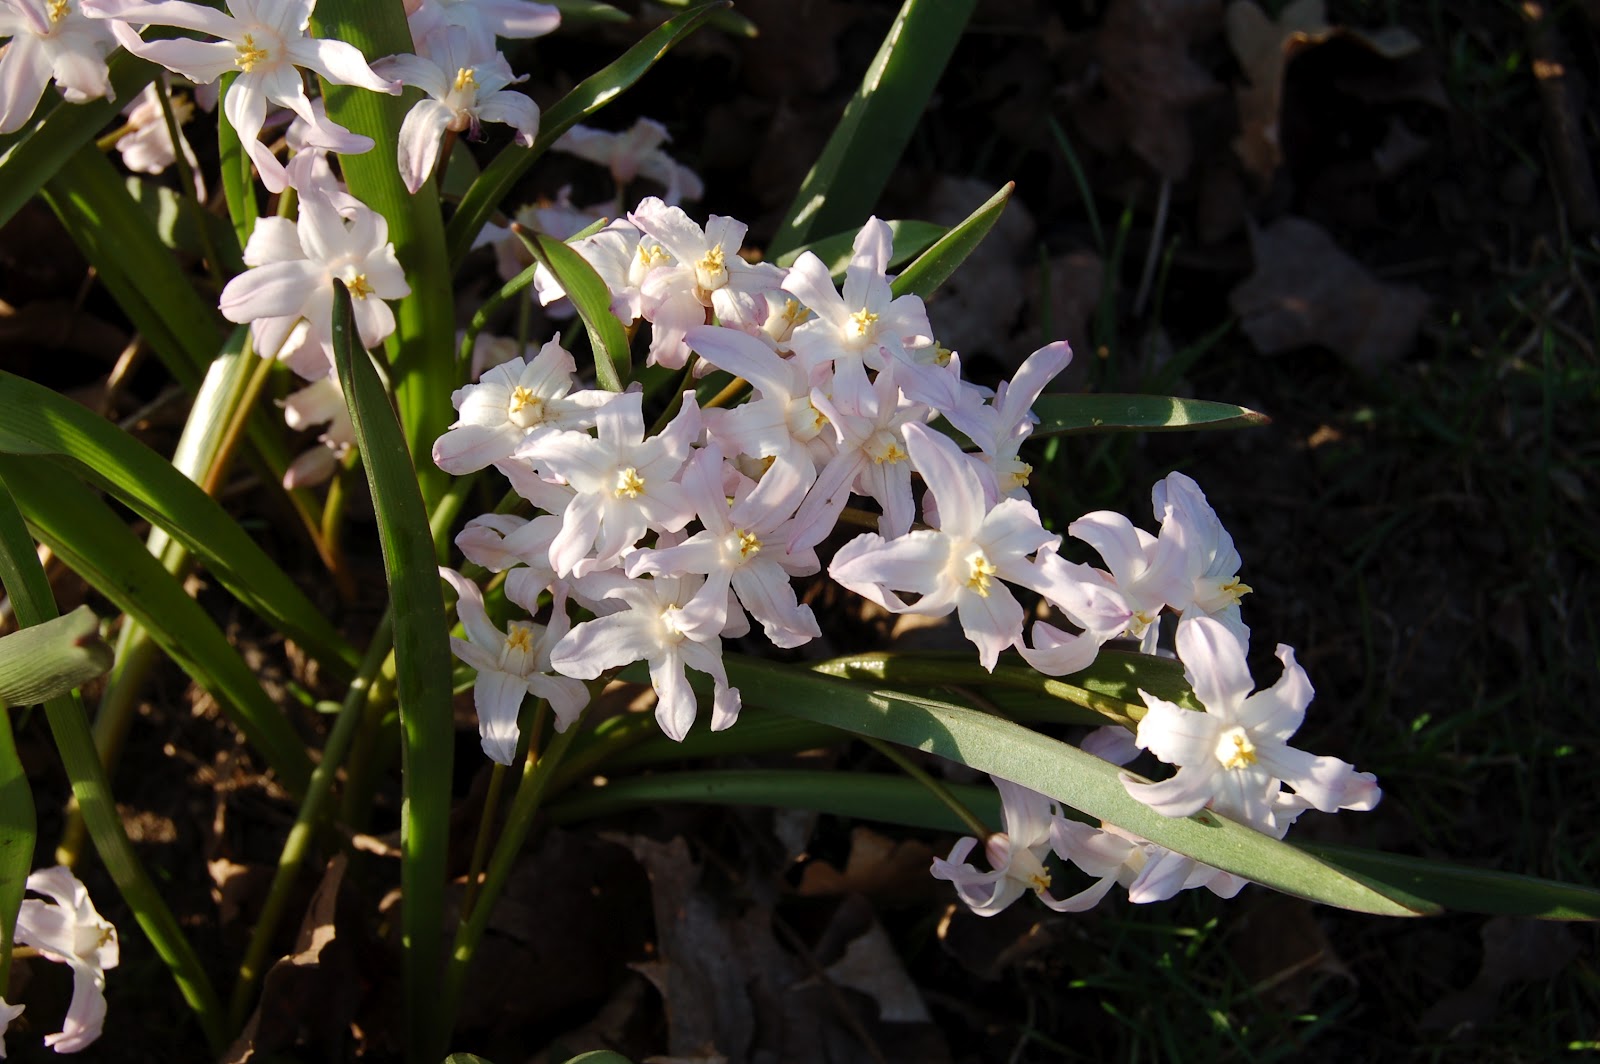
Snowdrop (Galanthus, pictured above), Glory-of-the-snow (Chionodoxa), crocuses, Dog's-tooth violet (Erythronium), pushkinias (P. Scilloides), Siberian squill (Scilla Siberica) are the first to bloom gloriously. Then, when the flowering ends, they just have to accumulate their reserves for next year and go back in dormancy.
Pink Glory-of-the-snow
Crocuses Ruby Giant
Pushkinias.
Bulbs' blooms - and spring flowers in general - don't last long.
These plants have to hurry up to complete their reproduction cycle before the first tree leaves appear, which then will shade them from the sun.
Lovage -a tasty perrenial that is reminiscent of celery leaves.


Lily of the valley - my mother's favorite flower - unfolds slowly in the sunshine.
A floral stalk as already appeared, preparing its bloom in a couple of weeks.
Grape hyacinth's solid blue contrasts lovingly
with the coral trumpets of the narcissus in the backdrop.


A double narcissus couldn't stay up with the snowfall 3 days ago.
Tulipa Tarda
This is a botanic type of tulip
(meaning it keeps its wild state from its country of origin).
It is considered a perrenial since it grows and expands year after year.
It also propagates itself by seed.


Tulipa Greigii Red Riding Hood.
Another botanical tulip that will stay strong year after year if it likes its assigned place.
That's why it's considered a perennial.


Darwin tulips (this one in pink) are considered
one of the most perennials in the hybridized tulips category.
I had a bunch that lasted 10 years and it even expanded a bit

before a deer came along and ate it.
Guess what this is?
First clue : it's flora.

Second clue :
It creates a cloud of dust when a good pressure is applied.


Third clue :
it once was edible.
Here's what it looked like last October.
Thats when I named it "the piglet".
Go take a look in this past article.

jeudi 19 avril 2012

Spring blossoms

Cet article en français.
Este artículo en español.

Tulips are here! Daylily fans are sprouting too.


Hélène :
I devised this simple article to take a "snapshot"of all this spring awakening that is happening right now in my garden. On such a lovely day, taking pictures is a good way to portrait the April-May garden. Since a picture is worth a thousand words, let's get right on it!


Hyacinths have poked out a couple of days ago.

 Hyacinths are extremely perfumed flowers. Personnally I take no more then 3 stalks to perfume the kitchen; else it's simply too much.


Lilacs are almost ready! Soon they will be all white
and will smell divine! They are right next to my
door steps, any spring visitor will have the pleasure
of their perfume!


The rhubarb grows quickly! I should have taken more pictures ; a couple of days ago only, there were no green leaves, it was just fat pink stalks poking out of the ground!


Up-Left : Black cherry, is that future flowers I see?
Up-Right : Juneberry sweetness, the flower buttons are visible!
Bottom-Left : Sea buckthorn proudly displays its stunning silver foliage.
Bottom-Right : Peach tree is producing soft flower buttons! Soon it will be in full bloom!


The comphrey under the black cherry tree multiplied
this year. It's a wonderful medicinal plant
and a perfect living mulch.
Watch out however, it's an invading plant!

Small sidenote for the inhabitants of Québec. The Québec government, specifically the Ministère des ressources naturelles et de la faune, offers a tree for every child born or adopted. You have a year after the birth (or adoption) of the child to subscribe to the program and the trees are delivered in May.
My son is the proud owner of the black cherry, on the picture above. This fruiting tree is about 4-5 years old and it is the first time I spot potential flowers on it. I'm anxious to see the rest!


The shiny green of raspberries is always a pleasure to witness in spring... 
Apparently this year, it's invading the lawn, as shown in the right picture.


This bed may look chaotic, but there is order nonetheless.
Strawberries look perk again and in-between, forget-me-nots will soon be covered with tiny blue flowers in a couple of weeks, lovage (if you are good at spotting plants, it's on the right - the stalks are vivid green and bear deeply chiseled leaves) and that beautiful red and green plant is none other then bloody dock (rumex sanguineus), which is milder then traditionnal dock. There's also lemon balm, just getting out of the dirt and later on, bee balm will grow at the same spot where you can presently see broken yellow stalks.


2 year old asparagus!
writer I particularly like has this to say for asparagus harvest : "Year one, take none - year two, cut a few - year three, lots for me!" So I'll be able to taste my first this year!


Spearmint is propagating.


Lupine is making a comeback for its second year.
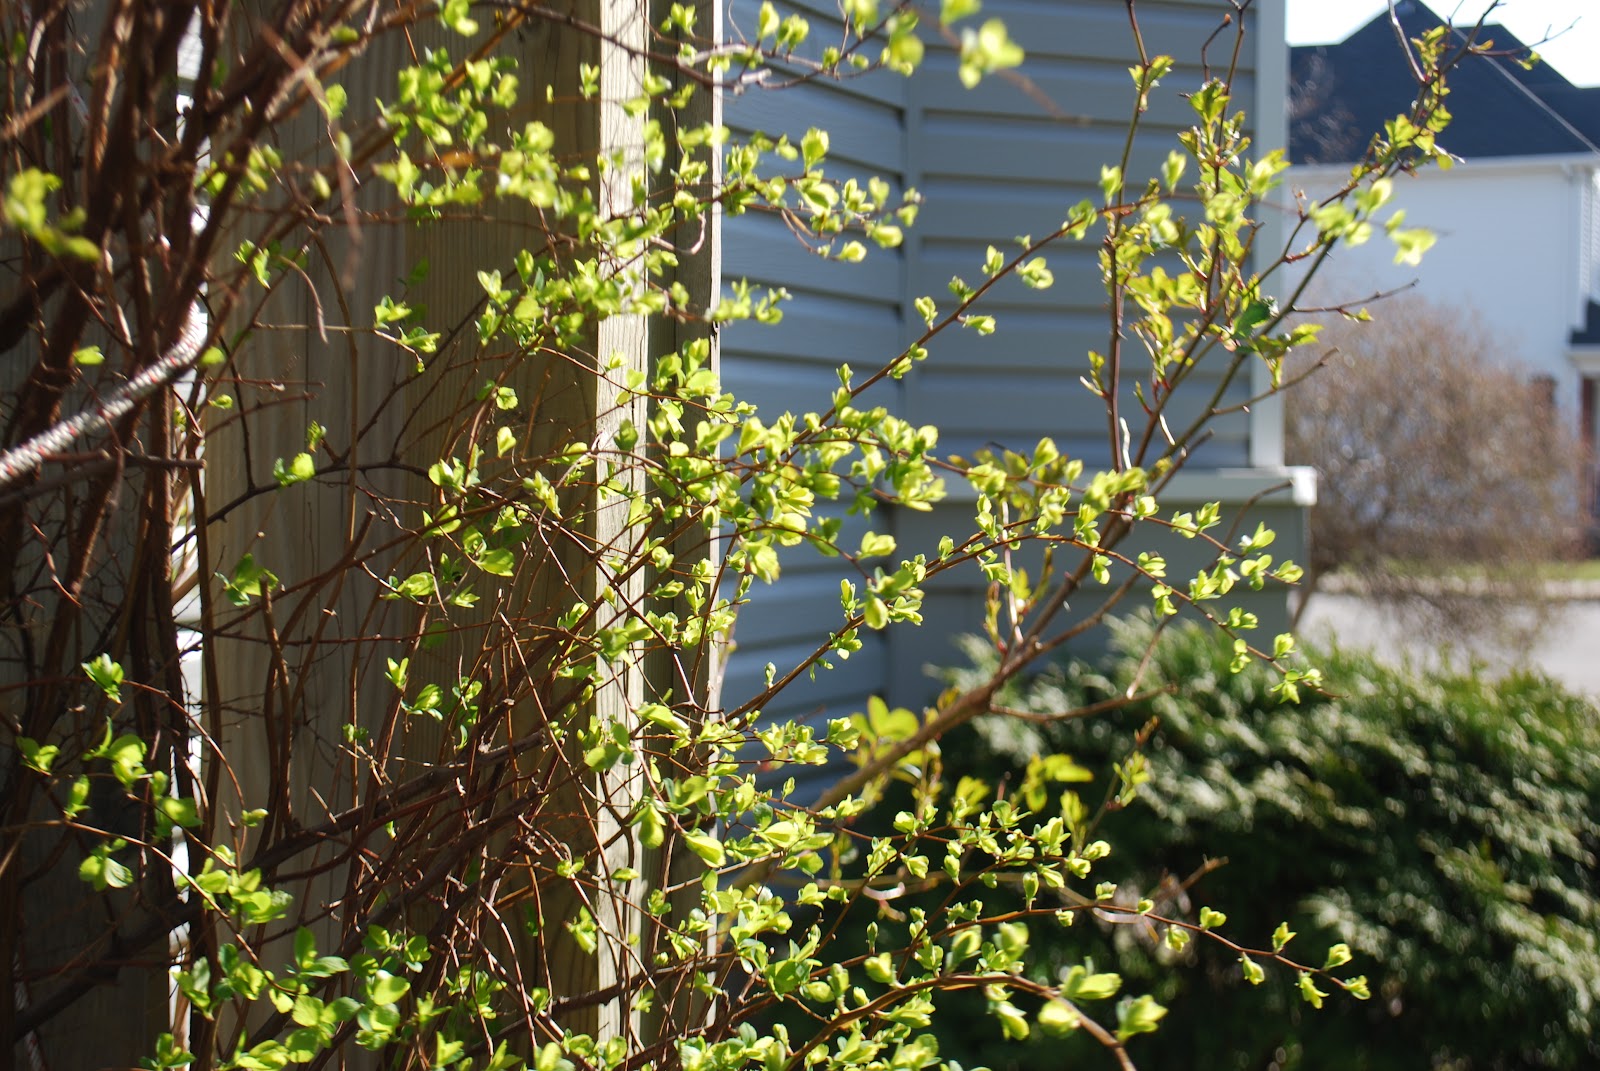
What is more marvelous than the soft spring rays shining on delicate spirea leaves?

UPDATE ON 1st MAY OF 2013 :


The picture of the tulips at the beginning of this article was most likely (althought I forgot exactly what I bought) the tulip Red Riding Hood, a variety that multiply. Wait, multiply? Oh yes! And here's the proof, one year later.


mardi 17 avril 2012

No need for a sugar house to make your very own maple syrup

Cet article en français.
Este artículo en español.
Our syrup is of great quality.

Louise :
Well, it is not fresh news : the time for making maple syrup is over. It's started earlier than usual here, because of the fair weather we had at the end of winter. I'm already anxious for the next season!
For the 2012 round, we haven't produce as much as we could have : We waited too long to tap our trees.
Quite unfortunate, the sirup's quality was very high. Anyway, what we produced (about 2,5 liters) was all worthwhile, as much for the product itself as for the sheer pleasure.
I thought I could publish this article way before the season ended, alas! I haven't made the deadline. But it is not a loss since my topic here is to share my personnal experience with gardeners new to this bounty, who might be tempted to try it next year. 
If you do want this adventure, it's actually a good idea to think and to prepare yourself a year in advance. First, you'll need to know what kind of maple trees you have in your yard. A fast internet search and you are there. Here's a very useful link for winter identification of maple trees. Or you have this this app, if you are technologically inclined. 
Take note that you can successfully tap sugar maple (Acer Saccharum), but you could do so with black, red or silver maple as well, and even boxelder maple.  The sugar concentration will vary from one species to another. 
It's also possible to tap birch, but the sugar concentration in its sap is less important, so you'll need 100 liters of birch sap to make 1 liter of syrup and this syrup will taste... like molasses ! By the way, the production method to make syrup out of this tree is not exactly the same as for maple syrup, and the harvesting season differs too.  I learned recently that you can tap poplar trees and walnut trees as well. I suppose each gives a syrup with a distinctive flavor.
So, do you have a few maple trees in your yard? Then harvest is near at hand. No such luck? What if a neighbor had some ? Or maybe a cousin ? Grandma ? You could offer your services as a voluntary acericultor and share the harvest with the owner ! 
Here is my personnal technique to harvest maple sap. If however you want to do it in a more sophisticated fashion, I have placed useful links at the bottom of this article.
How many maples do you need?
Not that much, as a matter of fact. With the help of tips found on the internet , here's a bit of maths (also take a look at the Ontario link at the end of this text): As soon as a maple tree reaches 25 cm in diameter (10 inches), we can tap it without risk. The more it grows, the more taps it can support, up to 4. So a 62cm or more maple tree (25 inches and more) can give up to 4 taps. If you have enough maple on your yard to total 6 taps, you should be able to produce about 1 gallon of syrup. It's enough to cover the needs of a family for a year. Well of course, it always depends how much of the stuff you eat... I know a couple who consumes 4 gallons per year.
In short, I have at my home 1 venerable sugar maple that still produces (we put only 3 taps on it in respect for its age - over 100 years old) and three others big enough for a tap each. Over all, I have 6 buckets, allowing our harvest to hover around 40 gallons of maple sap, which after boiling will become 1 gallon of beautiful golden syrup. 
Don't worry : 40 gallons is not too much to handle, since it's not harvested all at once. Me and my husband work full time and with a little bit of organisation, it's quite manageable, especially since the season lasts only a few weeks.

Simple, basic material for the harvest:
To collect the precious maple sap, you will need spouts - or spiles (those little metal drippers drilled in the tree) and tin buckets, with lids. We bought ours from a sugar house owner, many years ago. But sometimes hardware stores or farm stores stock these too.
You'll need a hammer and a crankshaft (or a power drill with an extension or even better - a battery operated one). The drill bit needs to be of the same diameter as your spouts. We noticed that taps receiving sunshine give more water, so don't drill on the north face, because you will not harvest much.
The lids are useful to prevent rain water and impurities to fall in the buckets. It's not bulletproof however and you will eventually find dust, pieces of bark, moss and lichen and even drowned insects in your precious liquid. Don't panic! You will just need to filter the liquid before boiling it and all will be well. For this part, you will need a sieve and a clean linen. 
My filtration system is very simple :
a metallic sieve placed in a bowl...
... covered with the clean linen folded in two or four.
I pour the sap through and voilà! If there's a lot of dust in the water
,

I may filter a second time. Some will want to filter the syrup itself. I don't find this a necessary step. My syrup stays clear and beautiful,
but sometimes it forms a deposit in the bottom of the jar (like wine dregs), but it doesn't affect the taste.
Some days the sap flow will be heavy, it is therefore useful to have a big holding container of some kind to store it if you can't boil it right away. The sap can be kept for 24 hours in a chilly place. Longer than that and it will spoil - the taste will be altered and the sap will start to become cloudy. As long as it is still cold outside, you can keep it there, out of the sun. I found that a giant water bottle (those that we place in distributors upside-down) is a perfect receptacle for storing maple sap (do invest in a big funnel, it will save you toil and trouble). A clean bucket can also do the work fine, as any container of  5 or 10 gallons will be good too. If you'd rather, you can definitely just drink the maple sap, it is delicious by itself (watch out however, drinking a considerable quantity may provoke diarrhea in some individuals - Partly evaporated sap can have that effect as well (in French, we call this liquid treat "reduit", which means "reduced". For my part, I'm not affected in either case).
Finally you'll need a big cooking pot and a source of heat to bring your liquid to a boil. A skimmer or a big metal spoon will be very useful too to take out the foam that appears during the process.
You'll need a big cooking pot.
If you make your syrup inside and you heat your house with a wood stove, you can simply place the pot on top and let the water evaporate slowly. 
It's Lee Reich's method, an american agronomist - his site is very interesting, by the way. Otherwise you will have to spend on electricity or gas to boil all this liquid. On the other end, you will recycle this heat to warm the house and you will humidify it as well, especially if - like me - the inside of your house is very dry. If you don't start the stove's ventilation (in part or during the entire operation), you will keep the moisture inside.


I often hear people object to making syrup
inside : "You'll end up with sticky walls!"
Not at all actually! Your kitchen will definitely fog up : 
it's the ideal occasion to wash the walls easily,
along with the inside of the windows, 
the ventilation system and the ceiling!
On non-stop days of boiling however, even with the stove's ventilation, the moisture in your house will be noticeable. 
I'll give you reassurance right away : your walls won't become sticky (if they are, it's because they were already dirty or greasy, or according to Lee Reich, if you boil your water so hard that it splashes on the walls). The moisture that sticks to walls is clean water from evaporation, just like the one after a long hot shower in the bathroom. Since only the water from the solution evaporates, what's left in the pot is sugar and will make the syrup once it's concentrated enough (i.e. lots of water gone).
Personnally I use this humidity to clean easily all the surfaces of my kitchen. But the rest of the house doesn't benefit from this steam bath, the quantity of vapour not being sufficient.
This year I wanted to try boiling the water outside. For that, I should build a portable rocket stove, but I didn't have the opportunity to get to it yet. Next year, hopefully... There are plans and videos on YouTube showing how to build one with 16 bricks or a couple of tin boxes, for instance. It's a very powerful system that doesn't pollute much and produces an intense heat without smoke. It uses a very little amount of wood. 

My boiling method : 
My technique could be more sophisticated. I'm sure, for example, that I could use a thermometer, but I started in a time where money was tight, so I learned to do without it. If you want the more precise and scientific method, check the documentation provided by the Ontario Government on the subject (link at the end of the article).
This pot was two thirds full and this is only a day's harvest.
I boiled it at medium heat for 6 hours, I skimmed it when needed

and I obtained 500 mL (2 cups) of syrup.
This cleansing steam perfumes the entire house. It's easy to imagine myself in a sugar house!
If I have to interrupt the process for several hours before the syrup is ready,
I store the half-boiled liquid (meaning maple sap that hasn't evaporate enough to be syrup)
in a chilly place (refrigerator for example) and start the process again later on.
Sometimes, I start a new patch with new water and when that water is close to syrup, I had this stored batch
from before.  You can pretty much add to your current batch some new maple sap anytime anyway.

To figure out when all of this as become syrup, my way has nothing scientific about it : I compare the taste to syrup from the previous year, if I still have some, or syrup from the grocery store. Texture is also a clue, but don't forget that boiling syrup doesn't have the same consistency, it will feel way more liquid than the one from the refrigerator!
Note : You can always boil anew a syrup that's too clear, but if you overdo it, you will end up with toffee, that you can spill over fresh, clean snow... if you had the foresight of storing some in the freezer, of course!
To learn more on maple syrup, it's nutritionnal values and its production, and to browse recipes, check Maple syrup producer's Federation of Quebec.
For a detailed method on how to tap your trees,  utensils, boiling process and preservation of the syrup, check this document from Ontario government on backyard maple syrup production.

Happy sugar season !

jeudi 29 mars 2012

Harvest under the blanket of snow

Cet article en français. 
Este artículo en español.


Irises are starting to peak from under the snow, Freya is disapointed by this weather,
but her playful youth drives her still to go explore outside.

Hélène :
Today in the backyard, the tranquility was only broken by the sound of the snow melting. This noise is remindful of rain, albeit without any sign of it. It's because last week, temperatures hovered around the 20 degrees (celcius) and this week it's around zero. And then it happened : last night a soft snow fell. We always worry for our plants in such times, especially our tulips and our trees - magnolia, lilac, personally my juneberry and my peach tree. But this snow melts fast, something we can attest to on these pictures : as I'm writing, most of it is already gone.

Daylillies are peaking in the front,
you can see two types of chives in the back.
And so the ground, which had plenty of time to thaw last week, is still workable. It's with this in mind that I made my way to the garden, in this peaceful beauty, and that I decided it was time to harvest a special vegetable I had purposefully left out of the harvest last fall, hoping to collect it this spring.

One heave of the shovel and voilà! Plump Jerusalem Artichokes showed! Helianthus Tuberosus, a remarkable plant, one that looks a bit like sunflower, but a whole deal taller, makes amazing edible tubers similar to the potato. It is rich in inulin and offers the benefit of having no starch (for those who can't have starch, take note). It was widely cultivated by amerindian tribes and has been often quoted as a good replacement for the potato. Here's the wikipedia page on the subject.

You can spot the tubers against the base of the wall, this beige mass covered with soil.
The beauty of this operation was that it took me only one plunge of the shovel
to take out the plant (I have a second one) and pull out a bunch sufficient enough
for my solitary lunch and still enough for my family's diner.
What's left after my lunch,
It weights 542g, and will make an exquisite vegetable for tonight!
And remember! Only one plunge of the shovel! I'm also pretty sure more
than half is still left underground.

And regarding what's left in the ground, here's the catch. Jerusalem artichokes are very invasive. So if you attempt to grow some in your garden, make sure to locate them in an area where you can control them.

Louise :
Jerusalem artichoke's tubers are like corn : They taste much better eaten fresh, not long after harvest.

They also have similarities with beans... they give gas. To avoid this with beans, the old trick is to add to the soaking water a bit of baking soda (don't use that water after however). Some persons claim that we can also use baking soda in the cooking water of Jerusalem artichokes, but I didn't try it yet. My trick is simply to eat them as fresh as possible and it doesn't give me any gas. So it's a major advantage to have them in your garden ready for the picking whenever you actually need them! 

Jerusalem artichokes have similarities with rhubarb too : once settled, they will virtually always come back because whenever you forget a tuber in the ground, a new plant will sprout from it (and it's not quite that easy to catch them all). I didn't choose a space yet where I want them "there forever", so I settled on making them grow in containers. It's a method that works perfectly well apparently, but one has to be careful to choose a very cheap plastic container, since the tubers have been known to deform them badly as they multiply and take up all the space inside. 

I planted 4 tubers inside in a big pot that previously contained a perrenial bought at a nursery. The plants will grow outside all summer and I'll be able to harvest the tubers in late fall. 


Jerusalem artichoke in all its glory, last fall


Hélène :
I would have liked to harvest my tubers last fall but spring offers so little in term of food that I resigned myself to try a spring harvest instead and that's how I came around to do my first harvest under the snow.

lundi 12 mars 2012

Seedlings are off to a good start!

Cet article en français. 
Este artículo en español.

This year, the garden planning was (litterally) a game. You can see here the garden map, desired vegetables cards and mini-cards for desired flowers, flowers that will be used for companion planting.

Hélène :
Have you started you garden planification yet? Here plans, seed orders and seedlings have been started a while already! Of course, buying seeds instead of buying plants cost less, but the time and expertise required for success is not negligeable and it's definitely a sign of trouble for most (me included). I did talk about this, I once tried to sow seeds in a big container with usual potting mix from the store and it just didn't work. Last year, I finally equipped myself seriously with a heating mat and a small light setup (not this exact model, but the last year's equivalent). Results for last year : a couple of difficulties but for the first time, I tasted tomatoes and peppers that were very different, vegetables I couldn't have tasted any other way.


Light setup and a heating mat underneat. Notice
the aluminium hanging for maximum light reflection.
Also notice the setup is on top of a shelf,
a place cats can hardly reach.


This year, the game started with even more varieties of tomatoes and peppers. And I have to admit my experience of last year is already showing. It's easier, losses are reduced and the plants are vigorous! There is a couple of fine points I would have like to have known at the offset, points I would like to share (this list will most likely grow with the years to come, too).

1. It is hard to give too much light. And if you go for natural light, if you are like me in the north, this is not Californian sunshine, northern sun is not as hot. All in all, maximizing the light you give to the plants is a good investment, so be ingenious about it : use mirrors or aluminium to reflect the light as much as possible. Most light setups come with height-adjustable light. When the seedlings poke out of the soil, don't be afraid to bring the light really close, a couple of centimeters over the top is fine. It's even actually better then fine, because else, you will get spindly plants, you know those long plants that hardly hold up?

2. Heat makes a big difference! This way, the seeds will germinate instead of rotting, so place a heating mat underneat the greenhouse and even under the containers holding the small seedlings. This can make a world of difference between a living plant and a dead plant.


In the small plastic greenhouse, down left,
new seeds are ready to sprout.
 The plants around are 3 weeks old.

 3. As long as those seeds haven't sprout, keep them in a greenhouse like the one on the left picture or place a plastic bag on top of the container that will keep the humidity inside. Don't buy a greenhouse that's too big : Take the size you need. Last year I bought a 50-cells greenhouse, thinking I could use only a part of it. What a mistake! All plants that were adjacent to free cells never sprouted for lack of heat and humidity. If they had been surrounded by other growing plugs, it would have been fine.


Here's a small plant ready to move up in a
potting mix, vermicompost and perlite.


4. Normal potting mix works fine of course, but there is a couple of details that need mention. First of all, it contains very little nutrients and since it's sterile, it can't make more. Some people add a handful of garden soil so bacteria is introduced, making this new soil richer. Others add compost, which slowly release its nutrients, an ideal solution... when your compost bin is not under 4 feet of snow! There's also vermicompost (worm compost) - something I will try this year - but it needs to be well mixed with the potting soil and it shouldn't be on the top since it has a tendency of caking, making watering challenging. I also add perlite. It's  very fine volcanic rock, it's white (it's in the glass in the picture above) and it helps to retain water, making plants less likely to dry out. Watch out however, because perlite is so fine, it should be dampen before working with, since it produces a dust that can be irritating to the lungs if inhaled.

These roots clearly state it's time to place them in containers.

5. Don't wait too long before repotting, especially if you used plugs! A baby plant that's in a container really too big for it will possibly have a hard time, but a plant that's too big for its container is a dead sentence.
I hope these tips and tricks will inspire you, give you courage to try and succeed with seeds! Of course you will loose some plants, but don't despair. Plants have a will to live too and will be forgiving to beginners.


When you order seeds, the choice will be immense and varied,
 the selection definitely exceeds what a nursery can offer as plants.

Louise
If you don't have a heating mat, place your seedlings higher (closer to the ceiling, the air is usually warmer). Another old trick is to put your tray over the fridge (at least all night long).

Don't forget to acclimate your plants before bringing them fully outside. Choose a mild day, preferably overcast and without winds (or place the plants in a shady spot that also offers wind protection), take them out for short spells, 30 minutes a morning, 45 or 60 the afternoon and so on. The idea is to limit shock when the plants will be outside. Think about it : A transplanted plant already is having a shock. Change the light input, the temperature and the wind at the same time and you can kill it quite easily, or at least damage it enough to stunt its growth.

Have a delightful gardening season!